10 Best Photoshop Tutorials to Learn Game Art
Today we have collected some cool tutorials to create 2d game art and assets for your indie games. These tutorials are from basic to advanced level. You will learn the aspects of creating your own 2d art. If you are looking for a complete game art course, you can checkout this link.
1) Creating a Simple Cartoon character

2) Beach background wallpaper

3) Creating an Axe

4) Creating a Game Logo

5) Creating a plane

6) Creating a Bee

7) Creating a Game Icon

8) Monster creation

9) Creating User Interface for your game

10) Create a Pirate Character

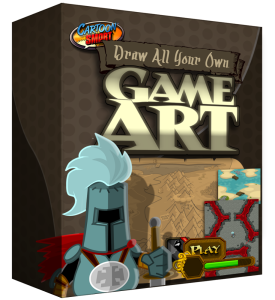
Hope you enjoyed the post. Best of luck. If you need any help then you can write it in the comments. If you want to learn from a video course then CartoonSmart has the best video course to create your own game art. In this course you will be creating your own game assets from maps, GUI to Character design to animation.
Session 1: The All-Important Logo
In this tutorial, we’ll look at some incredibly easy tips you can use with just about any font to make your logo stand out. Your logo is one of the first things people will see in the game itself, but more importantly, potential players will scrutinize any preview screenshots in the store before downloading your game.
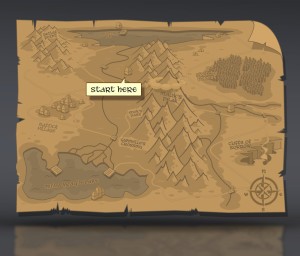
Session 2: Ye ol’ Quest Map
Alright matey’s, no one knows where to begin their journey without a map. This could be used as a guide to give players an overview of the various levels they will travel to. Or you could simply create a map for decoration in conjunction with your logo. Maps can be a great, soft background piece behind text, or other user interface elements.
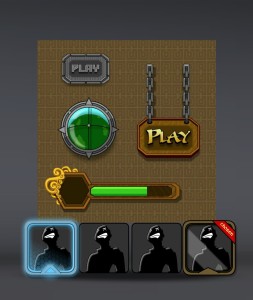
Session 3: Interface Elements and Buttons
In this session, you ‘ll be covering many types of interface elements, or GUI. This will include buttons, progress bars, selection icons, radar, and anything else you might find while playing the game or within a menu.
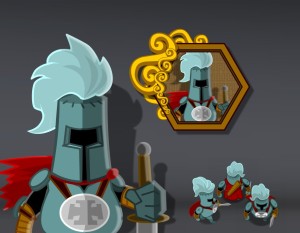
Session 4: Character Art
In this session you ‘ll be looking at how to draw your main character artwork. We’ll practice drawing the in-game views (front, back and side) and more detailed closeup views for Selection Screens, App icons or Promotional Art.
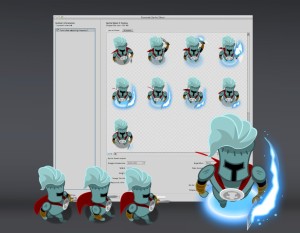
Session 5: Character Animations
In this session you’ll learn how to animate your character from the previous session. We’ll look at front and side view walking animation, an attack animation, how to add an interesting attack effect, and how to export a PNG sequence or Sprite Sheet from Flash.
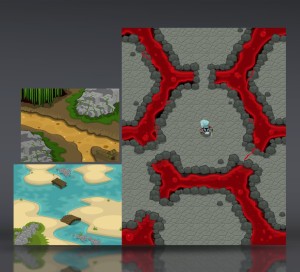
Session 6: Terrain
In this session we will construct various top-down view terrains. Combined with the buildings and structures taught in the next session, you’ll have some very detailed backgrounds to work with.
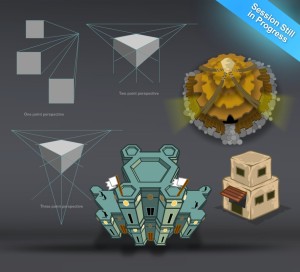
Session 7: Buildings
In this session we will cover perspective points, sketching ideas for buildings and creating multiple different structures, as usual using Adobe Flash.
The complete video tutorial package is just 39.99$ only.

great po5t bro,, thank5
Always here to help 🙂
[…] They find another excuse to left their creation. I just want to say that either start learning to create your own game art or hire someone. You can be do anything but not […]
[…] it. If you want to learn to create your own game art then you can use this learning path or simply follow these tutorials. If you want to learn from a complete step by step course then do check out my review of this […]
Hello Sujit,
I am following your website from quite a while and I must say you are doing a great job. Keep up the good work.
Thanks a lot Monish for your love and support. 🙂